How to Digitize your Textiles
Follow along the process on how to digitize your textilesDigital Twin Lifecycle
In this tutorial, we will talk about the lifecycle of the textile while being digitized. By following this process, you should be able to develop a cohesive digital library based on your physical swatches. We will not only discover the overall lifecycle, but we will also provide you with insightful tutorials for each step.
Every physical sample of fabric is able to have a digital twin. You might be wondering why should they have their digital twin. The fashion industry is developing more and more sustainable ways of creating textiles and garments. 3D design is becoming the new norm. Making garments in 3D enables you to see a garment finished in the moment. This design needs to have accurate textiles and fabrics as well as trimmings. This is where the digital twin of fabric comes in handy.
Benefits of Digitizing your Materials:
There are many benefits of digitizing your fabrics, such as: speeding the design process, production efficiency, prototyping cost reduction, and building a digital library, but it is also a sustainable practice since it avoids project iterations and waste.
Read through to learn about this important process and increase your knowledge in fabric digitalization.
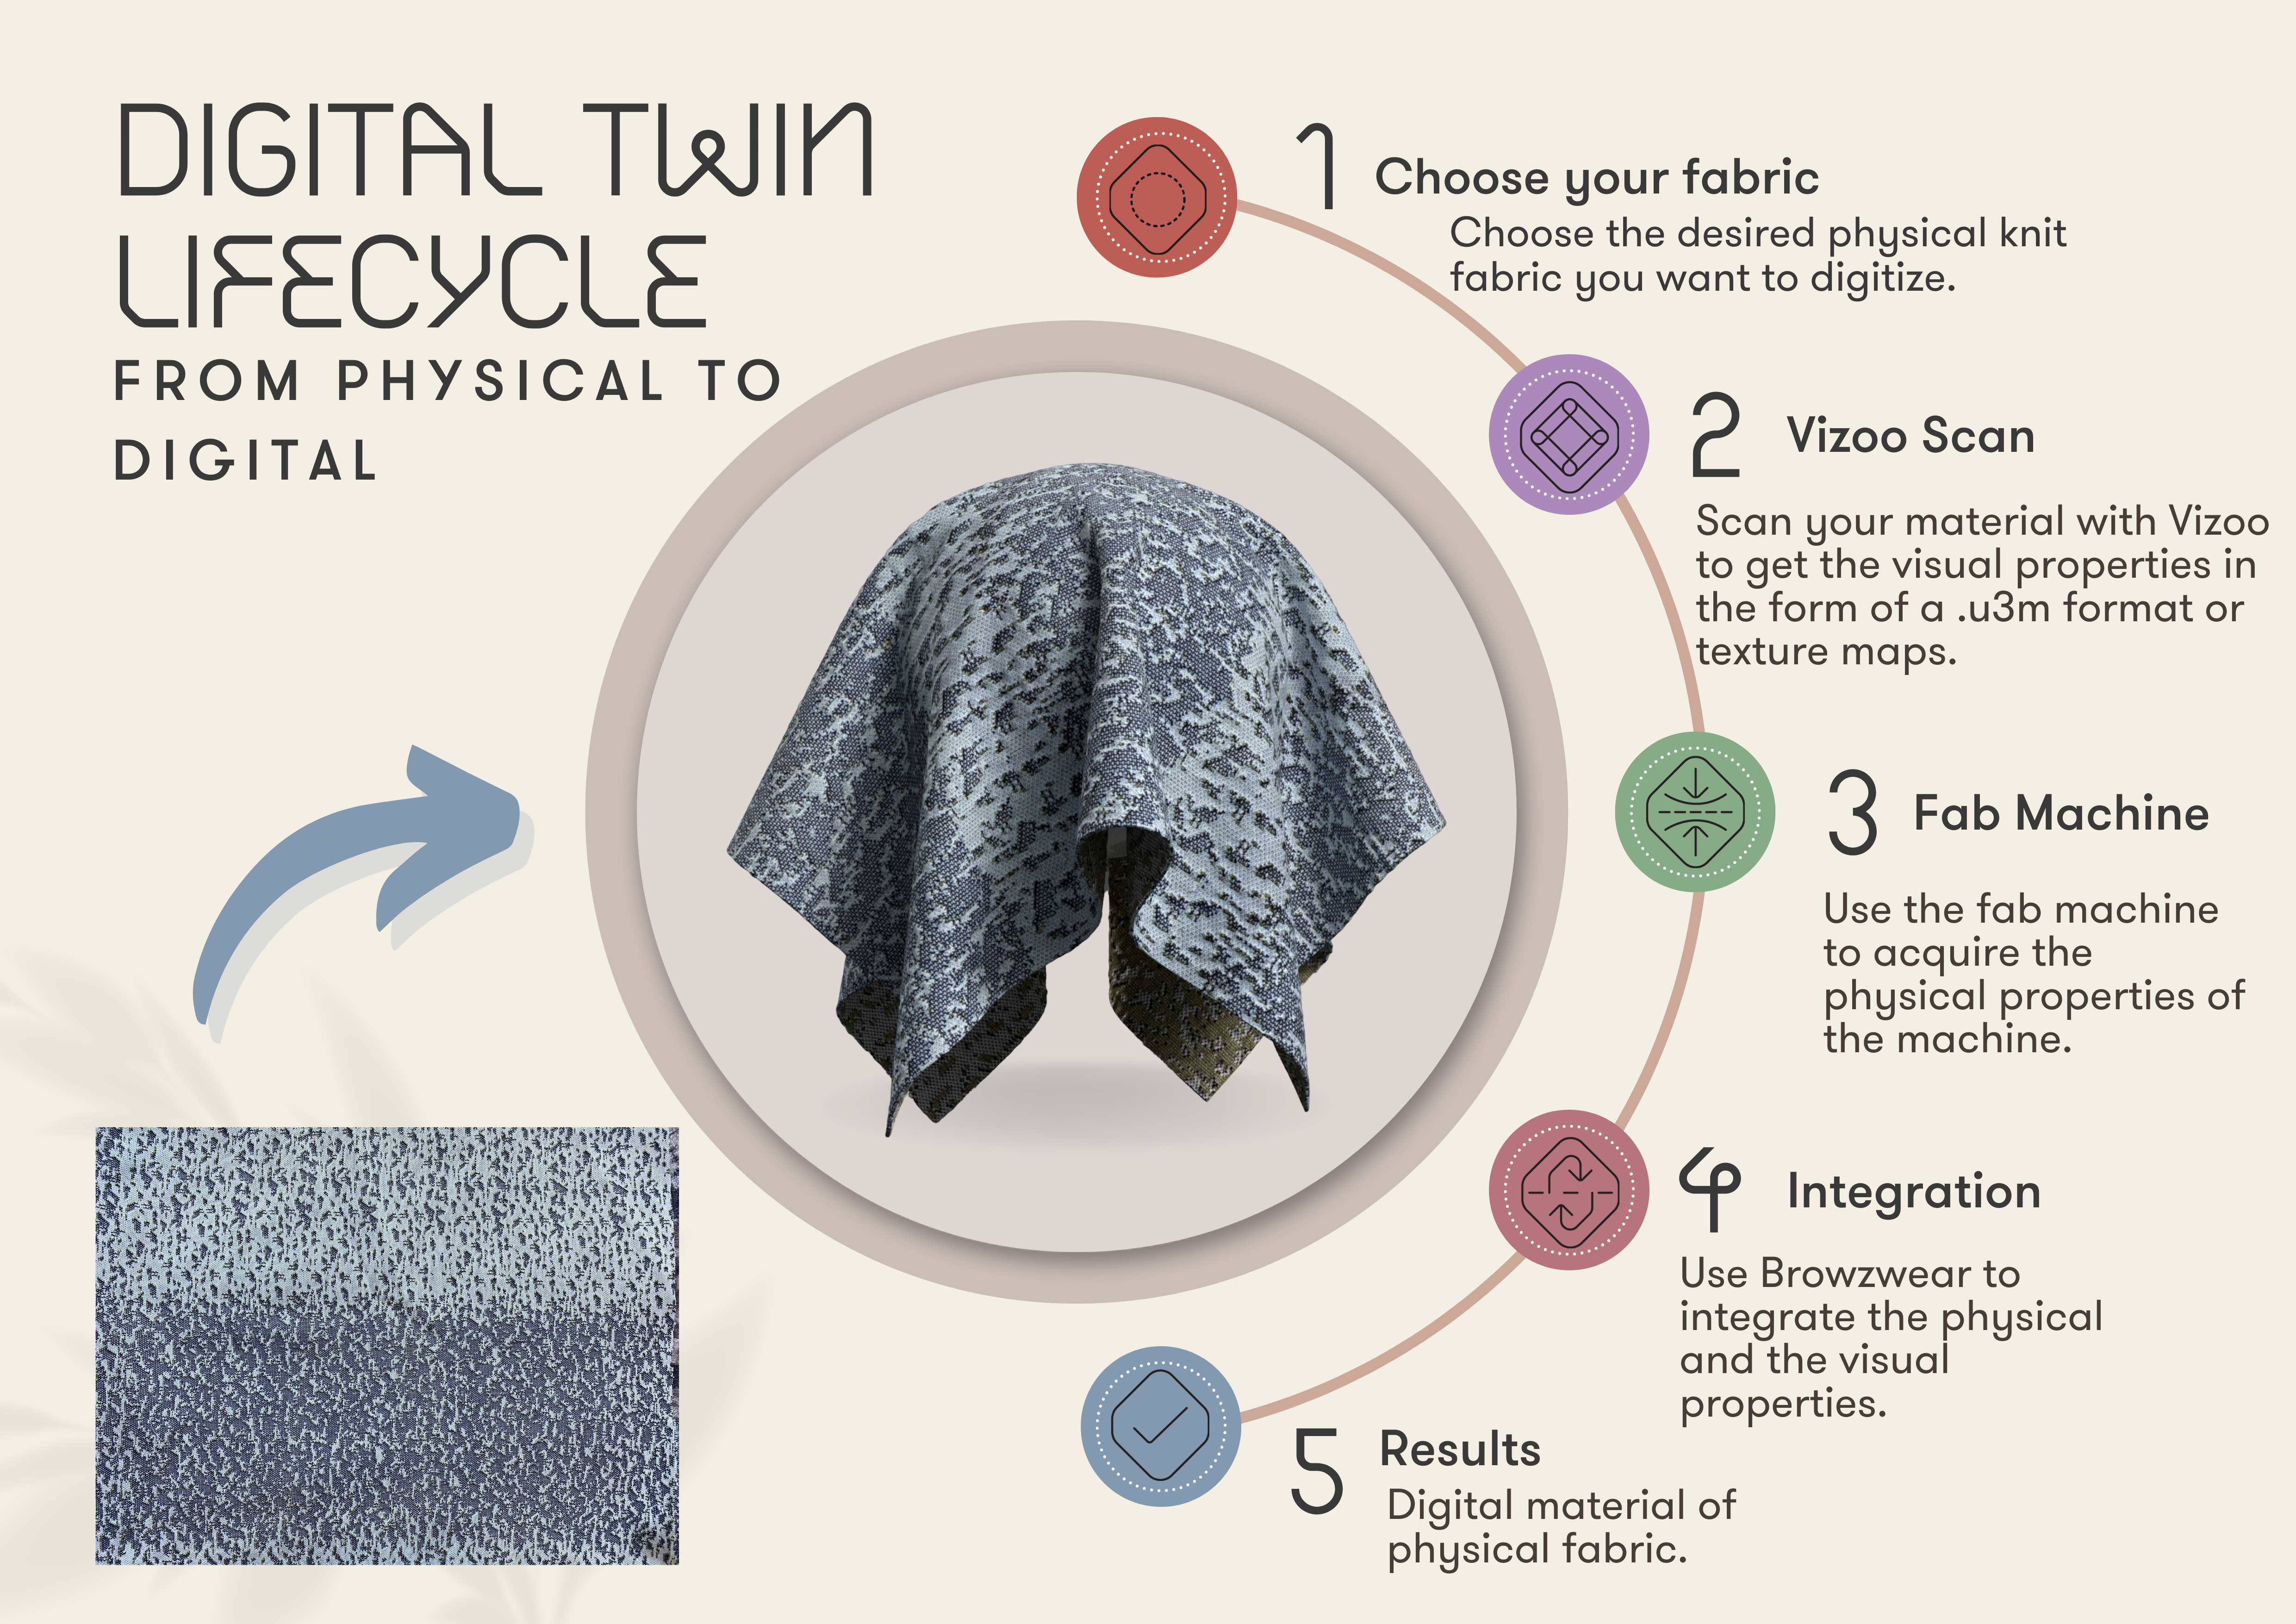
The Lifecycle of the knit textile begins with identifying the fabric.
Single jersey structures are produced in warp and weft knitting by the needles (arranged in either a straight line or a circle, with their hooks facing outwards) operating as a single set. Adjacent needles will thus have their hooks facing towards the same direction and the heads of the needles will always draw the new loops downwards through the old loops in the same direction.
Double jersey structures are produced in weft and warp knitting when two sets of independently-controlled needles are set facing opposite each other. The two sets of needles draw their loops from the same yarn in opposite directions so that the fabric formed in the gap between the two sets shows the face loops of one set on one side and the face loops of the other set on the opposite side.
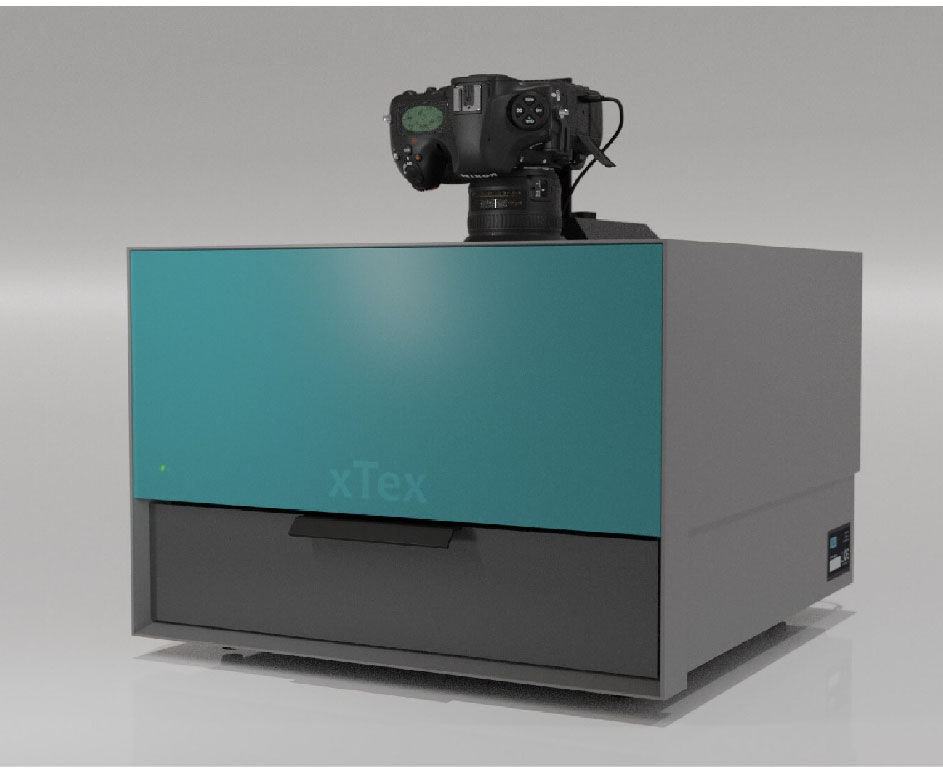
Getting the visual properties in the Vizoo machine.
Vizoo is the leading market innovator for material scanning and digitization solutions for fashion, furniture, and automotive purposes.
Capturing any type of material only takes 1 – 3 minutes for an A4 size material swatch at 600 dpi, making it a great choice for anyone who needs to quickly and easily capture material swatches for their business.
If you want to learn more about how to test your fabric with Vizoo, please read our dedicated tutorial here.
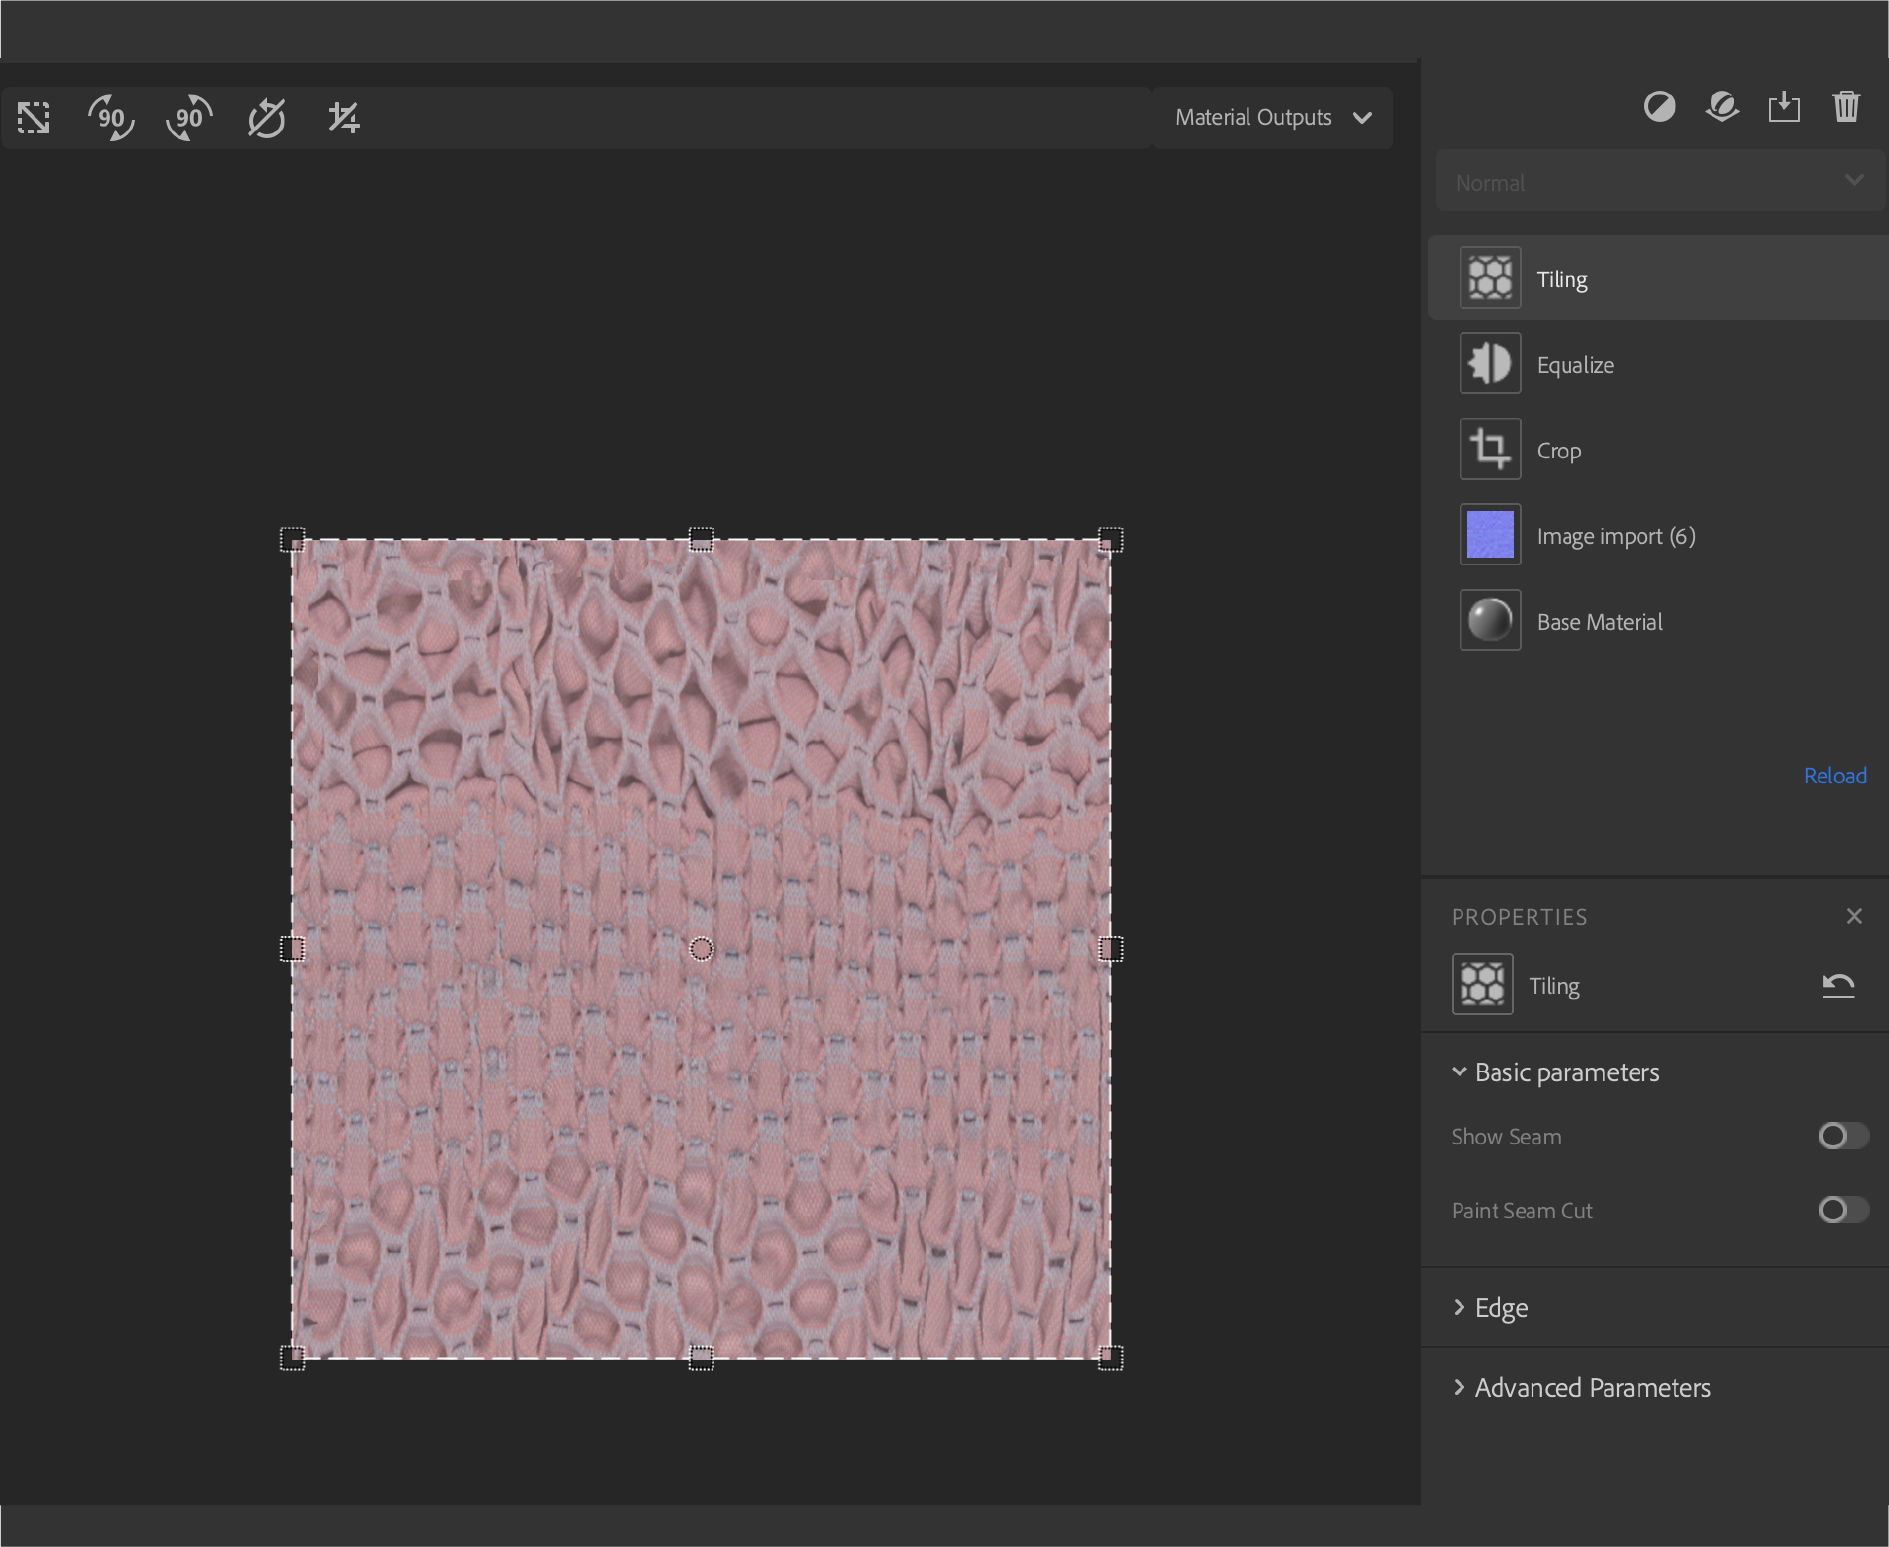
We tile the material using the Vizoo machine or Adobe Sampler. Once the tiling is done, you save your material. After saving, we get the U3M file, with the 6 texture maps. These texture maps will then be used in 3D Design programs such as Browzwear or Clo3d.
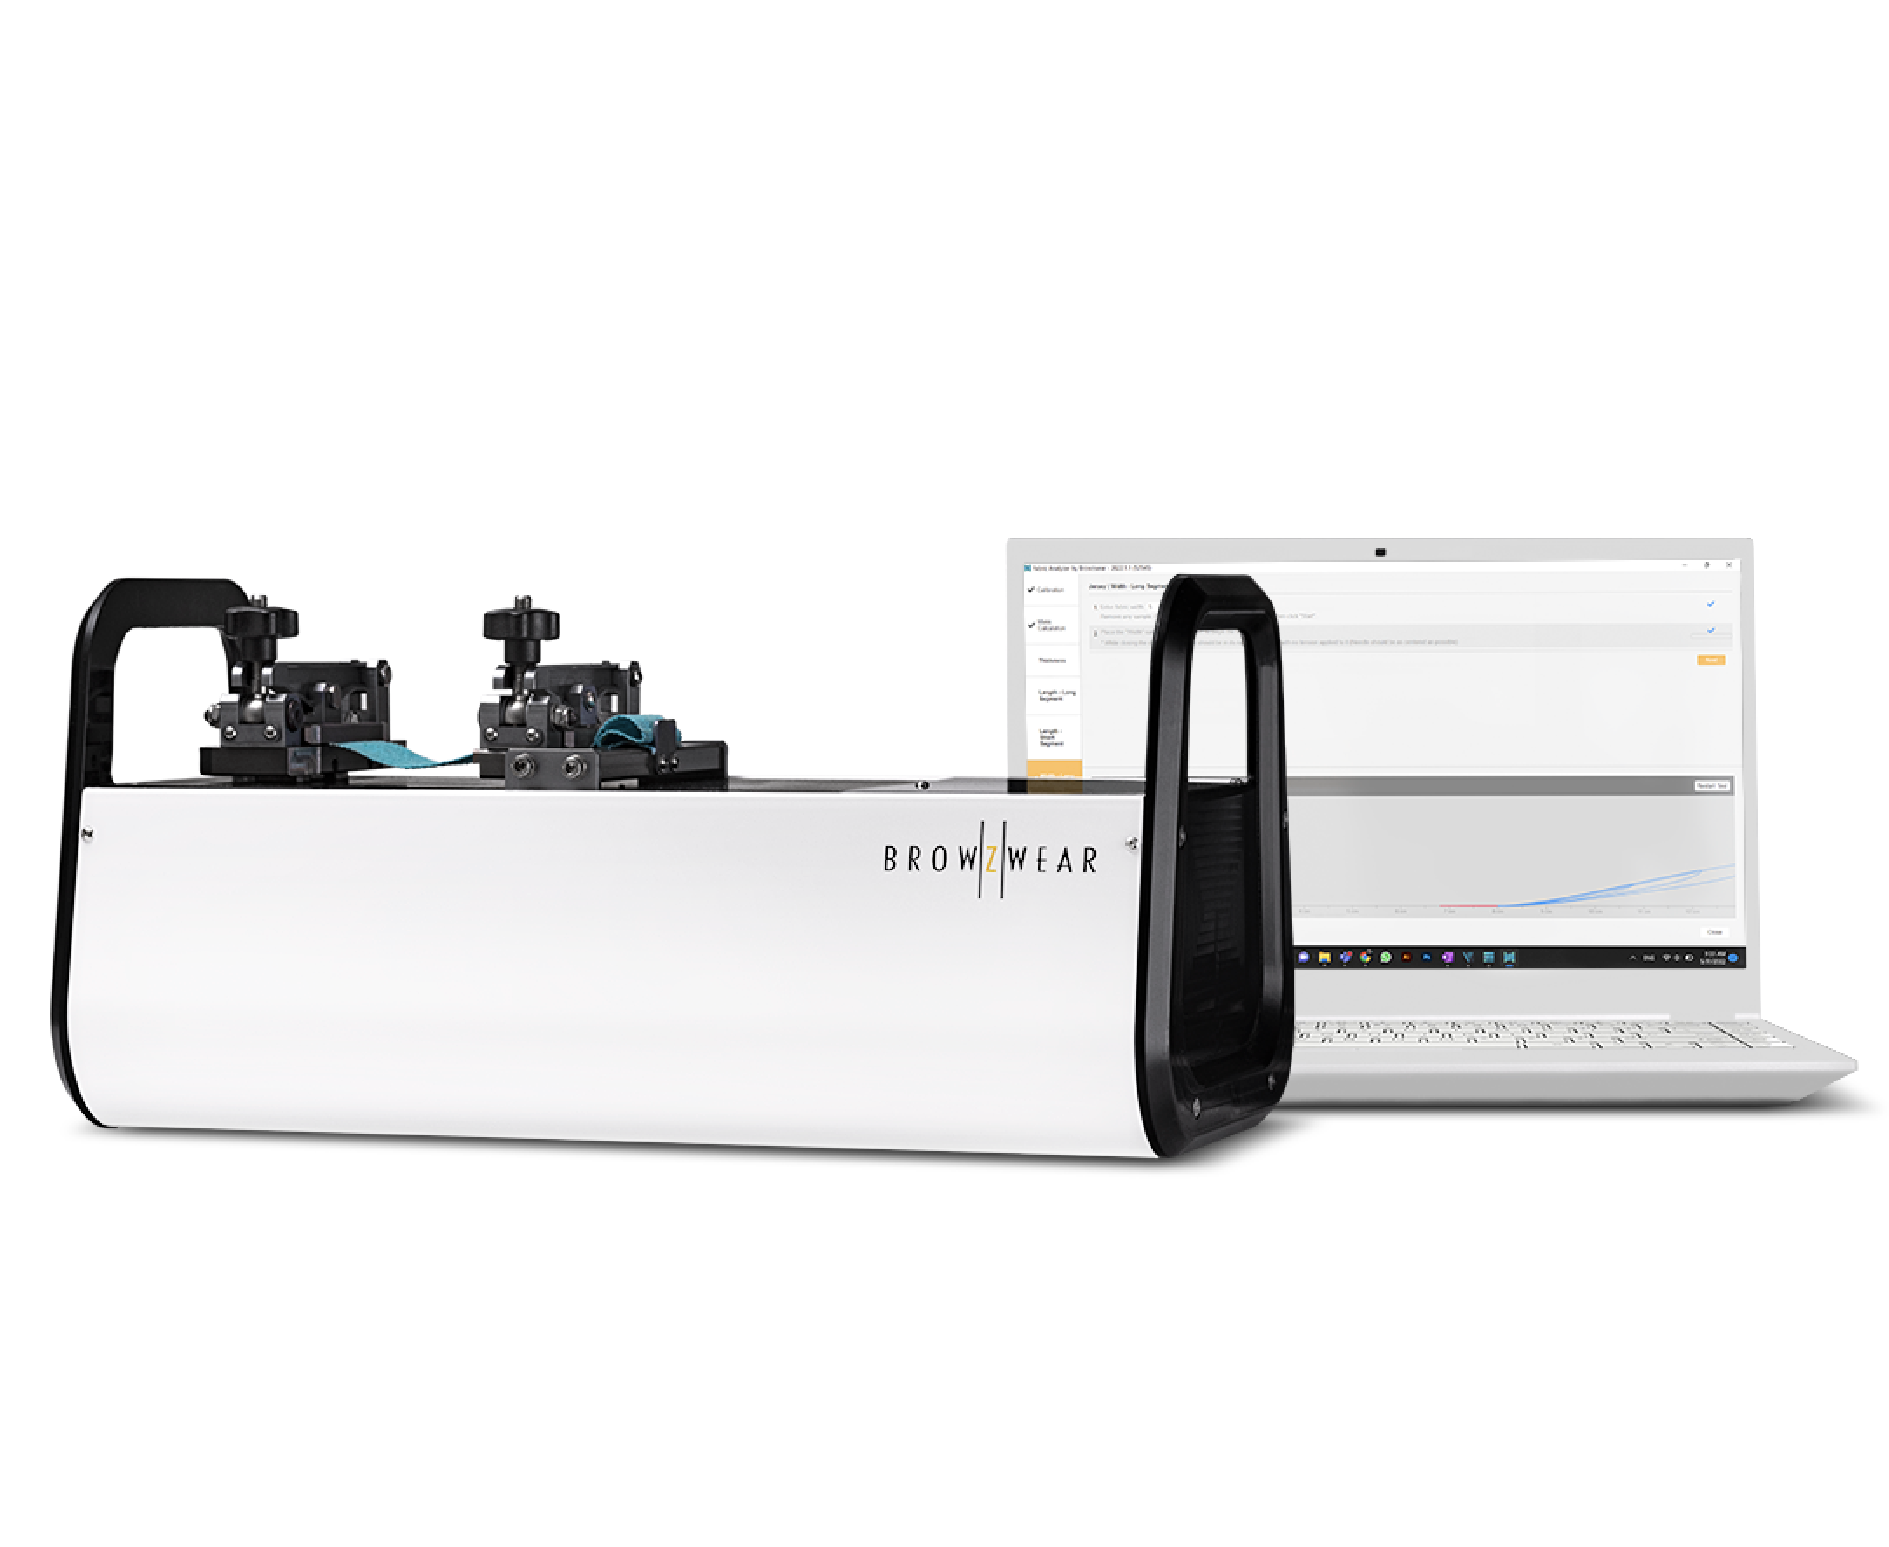
Get the physical properties from the FAB machine.
If you want to learn more about how to test your fabric with Vizoo, please read our dedicated tutorial click here.
Finally, we are ready to create the digital twin of the physical textile. These files are integrated with a 3D design program like Browzwear or Clo3D.
See a great example of the digital and physical fabrics in our textile toolkit and Queenie Cheng's digital capsule collection.

Conclusion:
As you can see, the overall process for digitizing your fabrics is pretty standard and simple. Although it can be easier to digitize some fabrics than others, trial, and error will help you discover the best way for each type of fabric.
Engineered seamless fabrics are sometimes challenging due to the fact they are unique in design, if you want to know more about how to tile engineered fabrics we recommend you to read our tutorial here.
Interested in digitizing your textiles?
Reach out to know more about our digitization services
